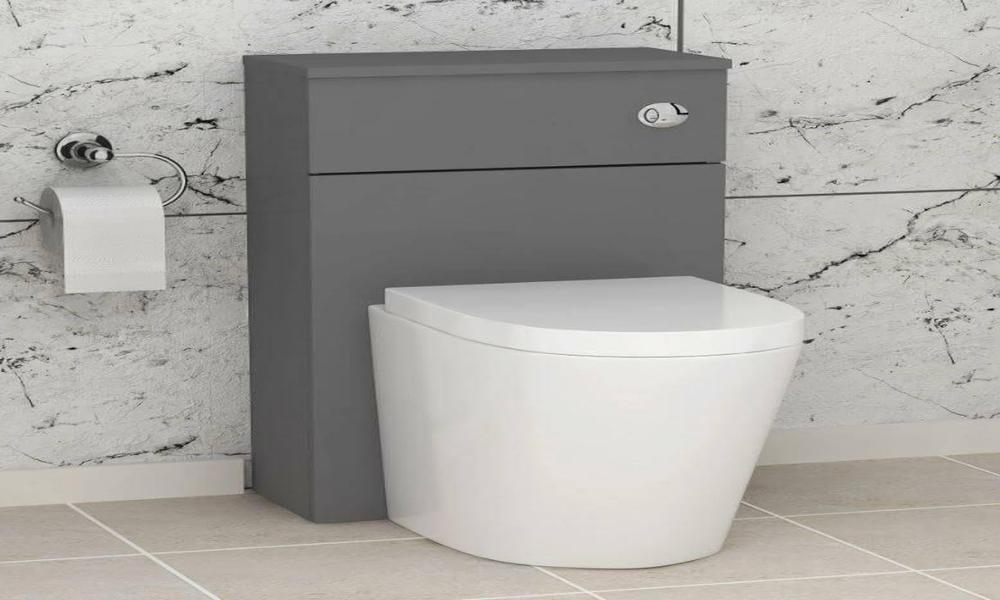
Choosing the perfect toilet unit for your bathroom involves considering several factors to ensure functionality, style, and comfort.
Size and Space:
Measure the available space in your bathroom to determine the appropriate size of the toilet unit. Consider the distance from walls, other fixtures, and the swing of the door. Choose a toilet that fits comfortably without feeling cramped or obstructing movement.
Bowl Shape and Height:
Toilet bowls come in two primary shapes: round and elongated. Round bowls are more compact and work well in smaller bathrooms, while elongated bowls provide additional comfort and support. Additionally, consider the height of the toilet. Standard height is around 14-15 inches, but you can opt for a taller or comfort-height toilet, which is around 17-19 inches, for added convenience, especially for those with mobility issues.
Flushing Mechanism:
Select a toilet unit with an efficient flushing mechanism. Look for toilet unit with a dual-flush system that allows for different water volumes, typically a lower volume for liquid waste and a higher volume for solid waste. This feature promotes water conservation and reduces your utility bills. Alternatively, choose toilets with high-performance flushing technology that ensures effective waste removal with minimal water usage.
Style and Design:
Choose a toilet unit that complements your bathroom’s style and design aesthetic. Whether you prefer a traditional, contemporary, or minimalist look, there are various options available. Consider the toilet’s shape, color, and overall design to ensure it integrates harmoniously with your bathroom decor.
Noise Level:
Consider toilets with noise-reducing features if noise is a concern for you. Look for models with insulated tanks or specialized designs that minimize flushing noise. This can be particularly beneficial if the bathroom is located near bedrooms or areas where noise can be disruptive.
How to Install a Toilet Unit: Step-by-Step Instructions for a Seamless Bathroom Upgrade
Installing a toilet unit is a manageable task that can contribute to a seamless bathroom upgrade. Here is a step-by-step guide to help you with the installation process:
Prepare the Area: Turn off the water supply to the bathroom by shutting off the valve located behind or near the toilet. Flush the toilet to drain as much water as possible. Place towels or a bucket beneath the toilet to catch any remaining water during the removal process.
Connect the Water Supply: Connect the water supply line to the fill valve on the bottom of the toilet tank. Ensure it is hand-tightened and not cross-threaded. If necessary, use Teflon tape on the threaded connections for a secure seal.
Adjust and Secure the Tank: Adjust the positioning of the toilet tank to ensure it is level and aligned with the bowl. Tighten the nuts on the tank bolts to secure the tank to the bowl. Again, be careful not to over tighten and risk damaging the porcelain.
Make Connections and Test: Turn on the water supply to the bathroom by opening the shut-off valve. Allow the tank to fill with water, and check for any leaks around the supply line and the base of the toilet. If there are any leaks, tighten the connections as needed or replace faulty components. Flush the toilet a few times to ensure proper functionality.
Finishing Touches: Apply a thin bead of plumber’s putty or silicone sealant around the base of the toilet to create a water-resistant seal. Use a damp cloth to clean any excess putty or sealant. Dispose of the old toilet and packaging appropriately.

